The Process of Creating a Charcuterie Board
- creationsfromthehart
- Jul 30
- 1 min read
Welcome to My Blog!
I'm Wendy, the primary driving force behind Creations From The Hart.
Although I'm typically not great at blogging, I decided to try it again.
I thought I would provide a sort of walkthrough of my creative (or perhaps not-so-creative) process concerning the items I create.
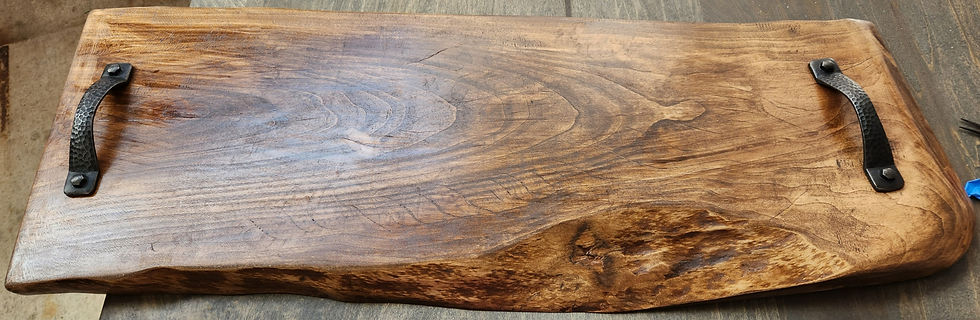
Here is a Sycamore Charcuterie Board I crafted a year or so ago.
Choosing Wood and Design of a Charcuterie Board
When examining a raw slab or piece of wood, look for interesting shapes, grain patterns, or knots and whorls. The more variations present, the more engaging the finished piece will be. The thickness of the slab will influence the size of the final product. Usually, the thicker it is, the heavier it will be. Carrying 20lbs of board and food might be a bit much for most people. LOL
The next step is cutting to size, cleaning the live edges of the bark (which are not sanitary for food), and sanding it until it's smooth as a baby's bottom. Then finish in your desired stain/oil.
Hardware and handles are optional, yet they enhance your finished piece with a touch of elegance and extra flair.
Finally!
Ultimately, you will have a stunning finished board that will serve as a statement piece in anyone's home.
If you liked my initial blog retry, you're welcome to leave a comment, or contact us if you're interested in getting your own charcuterie board.
Comments